Introduction
NOTE: The second post of this series is available here.
This blog post is the third in a series that illustrates how to
set up an OpenShift OKD cluster on
DigitalOcean. The second post in the
series covered the automated deployment and teardown of a cluster
using the digitalocean-okd-install script. At this point you should
have a cluster up and running and ready to be further customized.
Set Up Custom TLS Certificates
In the first post in this series we mentioned that you may want to have
valid certificates for your cluster. For this example we used
certbot to talk with Let's Encrypt to get us some certificates for
use with our cluster. Assuming the files are in the letsencrypt/
directory we can add the certificates to our cluster like so:
# export KUBECONFIG=${PWD}/generated-files/auth/kubeconfig

# for the ingress routers
oc create secret tls letsencrypt-cert -n openshift-ingress     \
       --cert=letsencrypt/live/okdtest.dustymabe.com/fullchain.pem \
       --key=letsencrypt/live/okdtest.dustymabe.com/privkey.pem    \
       --dry-run=client -o yaml | oc apply -f -

# for the api server
oc create secret tls letsencrypt-cert -n openshift-config      \
       --cert=letsencrypt/live/okdtest.dustymabe.com/fullchain.pem \
       --key=letsencrypt/live/okdtest.dustymabe.com/privkey.pem    \
       --dry-run=client -o yaml | oc apply -f -
NOTE: The above commands are crafted such that if the contents of
the letsencrypt/ directory have changed in the future (say
after you have renewed the certificates) then you should be
able to run the same command and it will update the secrets
in OKD accordingly.
In this case we created one set of certificates to cover both
api.okdtest.dustymabe.com and *.apps.okdtest.dustymabe.com so we
used the same certificate in the secret for both the API server and the ingress
routers. You may want to have a separate certificate for each, in
which case you’d apply the corresponding certificate to the API server
or ingress router.
Now we need to update the ingress controller and API server to use the certificates:
PATCH='
spec:
  defaultCertificate:
    name: letsencrypt-cert'
oc patch ingresscontroller default -n openshift-ingress-operator --type=merge -p "$PATCH"
PATCH='
spec:
  servingCerts:
    namedCertificates:
    - names:
      - api.okdtest.dustymabe.com
      servingCertificate:
        name: letsencrypt-cert'
oc patch apiserver cluster --type merge -p "$PATCH"
TIP: oc explain can be your friend. For example, try oc explain apiservers.spec.servingCerts.
Now we can see the certificate is applied appropriately:
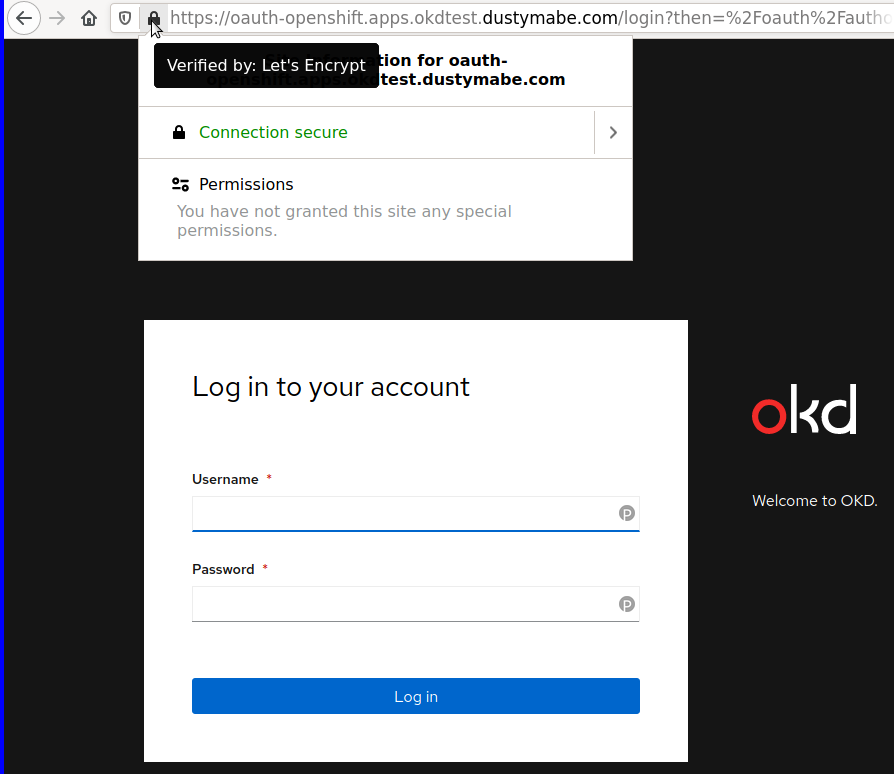
At this point your KUBECONFIG from the install will stop working
because the certificate for the API server has been replaced. To
continue to use the oc command you’ll need to log in to the web
interface and grab a token to use with oc login --token.
Set Up Identity Provider
Now that we’ve got the certificates for the cluster set up, let’s also
configure it so that users can log in via some sort of identity
provider. In this case I’ll use the gitlab.com instance of GitLab
as my identity provider, though any OpenID Connect provider can be
used.
Instructions for setting up the GitLab identity provider can be found here.
In my case I needed to sign in to gitlab.com and go to Settings and then
click on Applications in the menu on the left hand side of the
screen. The resulting page is where you can fill out details for a
new application you’d like to use. In this case we’re only giving it
openid scope, so it can only really be used as a identity provider:
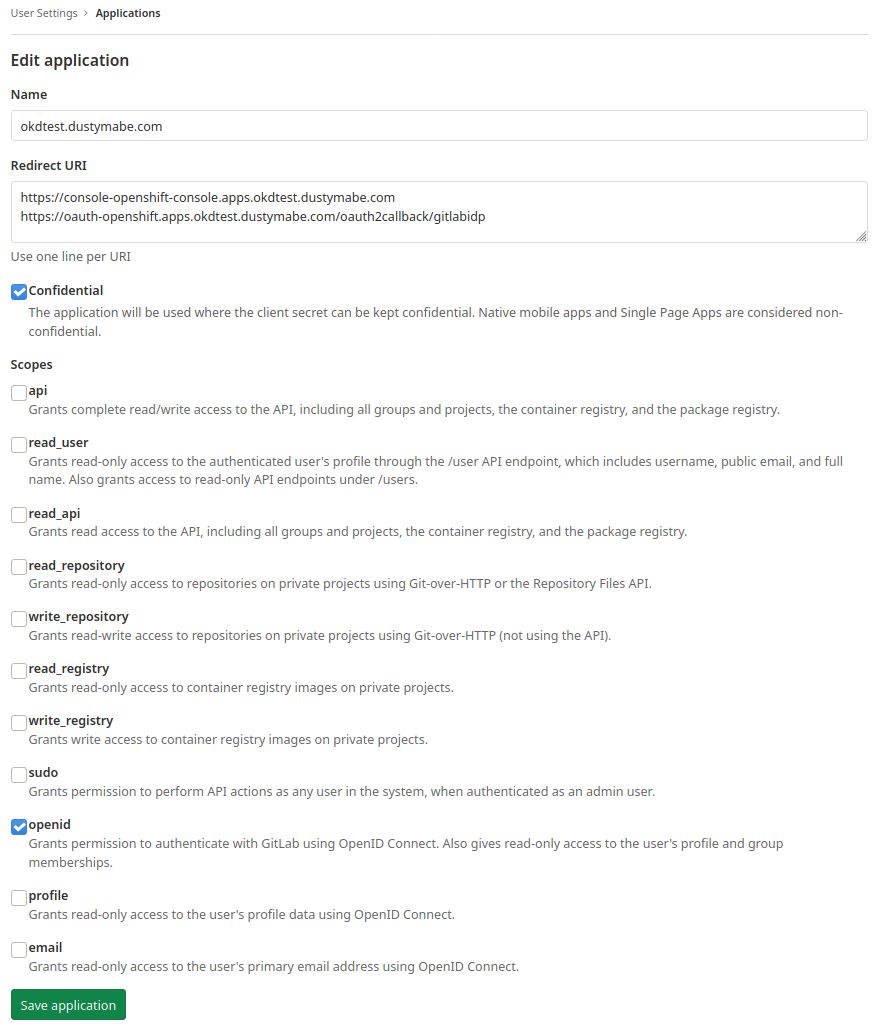
In this case we named the application okdtest.dustymabe.com and
entered two URLs in the Redirect URI field:
https://console-openshift-console.apps.okdtest.dustymabe.comhttps://oauth-openshift.apps.okdtest.dustymabe.com/oauth2callback/gitlabidp
The first is the URL for the console, and the second is the callback URL for the application to use. After saving the application we can see it configured:
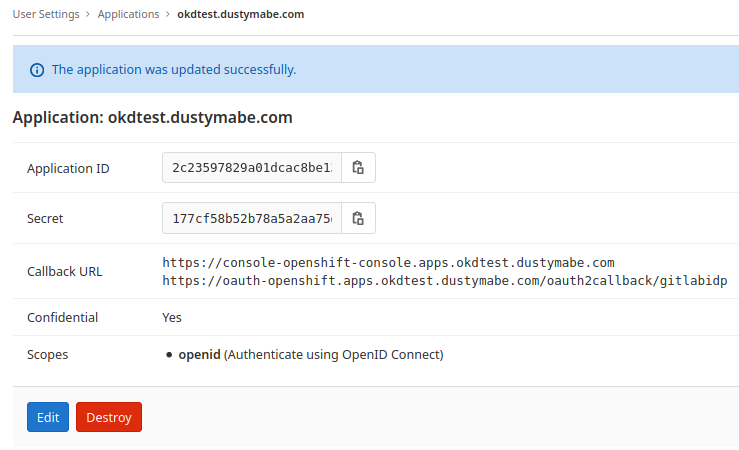
Now we can take the ID and Secret from that application and create the identity provider in our cluster.
GITLAB_ID=<id>
GITLAB_SECRET=<secret>

oc create secret generic gitlabidp-secret -n openshift-config --from-literal=clientSecret=$GITLAB_SECRET

oc apply -f - <<EOF
apiVersion: config.openshift.io/v1
kind: OAuth
metadata:
  name: cluster
spec:
  identityProviders:
  - name: gitlabidp
    mappingMethod: lookup
    type: GitLab
    gitlab:
      clientID: $GITLAB_ID
      clientSecret:
        name: gitlabidp-secret
      url: https://gitlab.com
EOF

unset GITLAB_SECRET GITLAB_ID
The steps above create a GitLab identity provider named gitlabidp
using the lookup mapping method. This mapping method was chosen
because it doesn’t allow users to be autocreated on the cluster.
This is because, while we are using GitLab authentication to log
in to the cluster, we don’t want to let all GitLab users log in.
The different options for the mapping methods are documented here.
So now that we’ve configured the identity provider, can we log in?
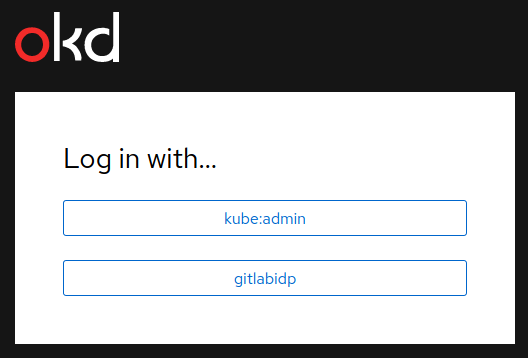
We see that we now have an option to select gitlabidp when logging
in to the web console. When we click on it and enter our GitLab
credentials we then see a prompt to authorize the application:
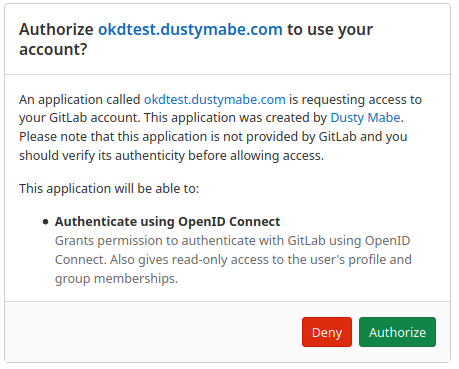
After authorizing the application, we then get an error:

This is actually good news. It means that the lookup mapping method
is properly configured. I’m not able to log in to the cluster because
the mapping hasn’t been set up yet. If I look at the logs from the
pods within the openshift-authentication namespace I can see the
actual error:
$ oc logs -n openshift-authentication oauth-openshift-7fd9bd8665-fckkf | tail -n 1
E0823 22:19:24.730522       1 errorpage.go:26] AuthenticationError: lookup of user for "gitlabidp:111111" failed: useridentitymapping.user.openshift.io "gitlabidp:111111" not found
Which means that someone with GitLab user id of 111111 tried to log
in to the cluster and was denied because no mapping exists between that
GitLab user and a user on the cluster. Actually, no user other than
kubeadmin has been configured on the cluster just yet. Let’s take
care of that:
# Create the dustymabe user and make them cluster-admin
oc create user dustymabe
oc adm policy add-cluster-role-to-user cluster-admin dustymabe
Now that we’ve created the dustymabe user we can now set up the
mapping between GitLab user id 111111 and the dustymabe user
we just created:
# Map the gitlab userid to the dustymabe user
oc create identity gitlabidp:111111
oc create useridentitymapping gitlabidp:111111 dustymabe
NOTE: If you don’t want to dig through logs to find your GitLab user ID you can find it on your profile page at https://gitlab.com/profile.
Now that we have the mapping set up we can try to log in to the cluster again. Now we are able to get in and see the console:
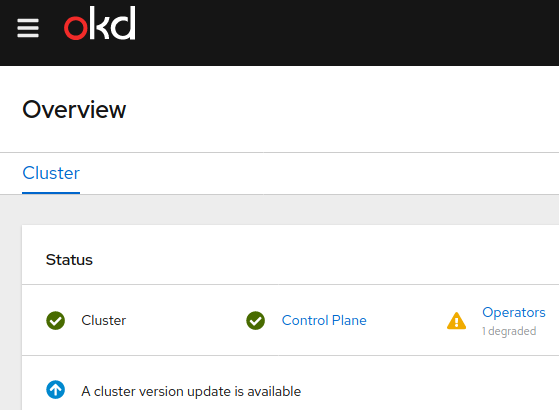
Conclusion
In this entry in the series we configured our cluster to have TLS certificates signed by a certificate authority and we configured the cluster to allow specific users to log in via the GitLab identity provider. In the next post we’ll cover performing an upgrade of the cluster.
NOTE: The next post in this series is available here.